Table of Contents
Step by Step Tutorial to Set Up VNC on Raspberry Pi
Virtual Network Computing is the obvious option when you work with Linux platforms. In short, it’s called VNC. It’s a cross-platform remote desktop technology that can be used on most operating systems. There is a variety of products available on the market. Few products are free, and few are commercial. But, most of the new Raspberry Pi distributions come with ReavVNC, which supports cloud-based connections right in. This allows you to connect Pi not only within the network but also over the internet. RealVNC gives users the freedom to connect from anywhere. This flexibility makes this option more prominent than others. Let’s see how to set up VNC on the Raspberry Pi.
Note: VNC runs on port 5900. You should open this port on all the middle devices to work the communication from your PC to the Raspberry Pi.
Make sure VNC is enabled on the Pi. to ensure that, go to main menu -> preferences -> Raspberry Pi configuration as shown here. And, go to the interfaces tab where you can enable the VNC and hit OK.
Go to Preferences, then Raspberry Pi configuration
VNC configuration in Raspberry Pi
If you see the problem in enabling the VNC on your Pi, then you may need to install the RealVNC from the repositories.
Prerequisites for setting up VNC on a Raspberry Pi:
Raspberry Pi hardware and OS installed and set up. You’ll need a working Raspberry Pi board with an OS like Raspbian installed.
Network connectivity. The Raspberry Pi needs to be connected to a network in order to access it remotely via VNC. This can be through Ethernet or WiFi.
Enable VNC on the Raspberry Pi. You need to go to the Raspberry Pi configuration menu and enable VNC under the Interfaces tab. This allows VNC connections.
Install RealVNC server software. The blog instructs to install the RealVNC server package on the Raspberry Pi using the apt package manager. This provides the VNC server.
Open port 5900. The blog mentions that VNC uses TCP port 5900 for connections. Any firewalls/routers between the client and Raspberry Pi will need to allow traffic on this port.
VNC client software. On the client computer you want to use to connect to the Raspberry Pi, you’ll need VNC viewer software installed, like RealVNC or TightVNC.
Know Raspberry Pi IP address. To connect, you’ll need to enter the IP address of your Raspberry Pi into the VNC client. So you’ll need to know the IP address assigned to your Raspberry Pi on the network.
Let me know if you need any clarification or have additional questions!
Install the RealVNC on Raspberry Pi
Step 1. Update the system repositories:
Open the terminal if you have direct access. Or, take an SSH session to the Raspberry Pi CLI.
$ sudo apt-get update && apt-get upgrade
Step 2. Install the RealVNC server:
$ sudo apt-get install realvnc-vnc-server
Step 3. Enable VNC server:
$ sudo raspi-config
Got to Interfacing options
Select VNC
Answer Yes
Select Finish to quit (or ESC)
Connect from Windows client: Visit the RealVNC “https://www.realvnc.com/en/connect/download/viewer/” site and download the client for your operating system and install it. Once it’s done, fire up the VNC viewer and enter the Raspberry PI IP address, and hit enter. You are going to see a warning message like this.
Connecting Raspberry Pi using VNC viewer
Select ‘Continue.’ This prompts username and password. In a movement, you are going to see the full-size GUI desktop.
Note: You ended up in some sort of problem if you unplug the monitor, mouse, and keyboard from the Pi and try accessing its GUI desktop over VNC
The problem in connecting Raspberry Pi using VNC viewer
$ sudo raspi-config
The output of “sudo raspi-config” command
Choose Advanced Options.
Advanced Options in Raspberry Pi Software Configuration Tool
Set the resolution as per your screen size. We recommend setting DMT Mode 82 1920 X 1080 69 Hz 16:9.
Setting screen resolution in Raspberry Pi
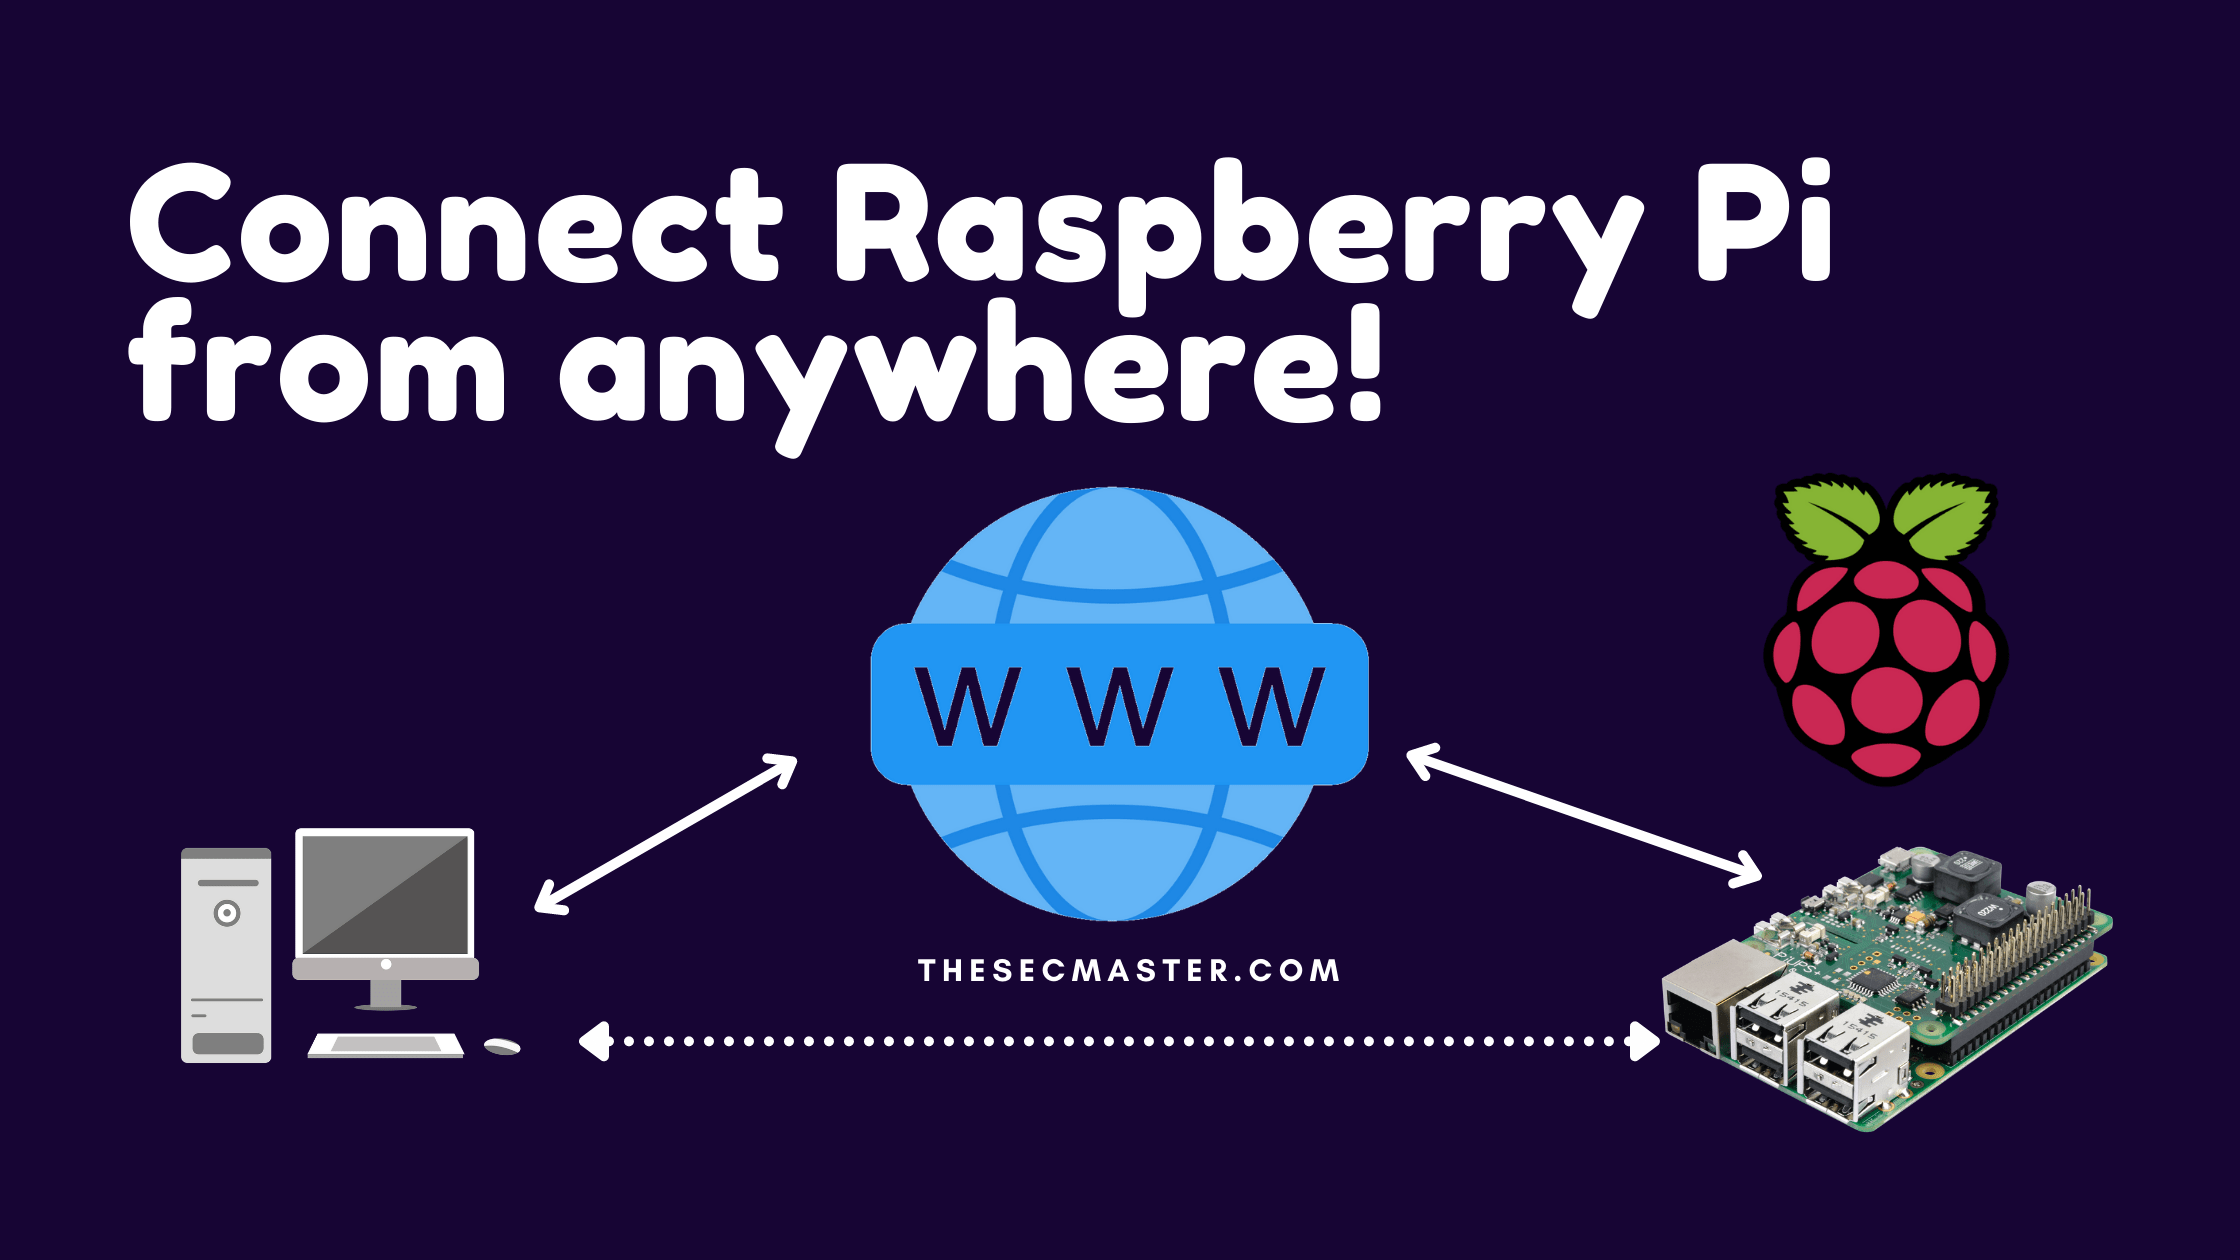
As we said earlier, it is possible to connect Raspberry Pi over the internet. You need not be part of the network to which Raspberry Pi has connected. To access Pi over the internet, you should create an account on the VNC cloud and sign into it.
Open the VNC application on the Pi and click on the Sign in link.
VNC application on Raspberry Pi
Create your own account here or just sign in if you have already.
Sign in to the VNC server
Note: You are allowed to connect only 5 computers in the free account. You have paid account options as well if you want to add more than 5 computers.
Upon setting up these configurations on VNC, you can sign in to your cloud account and connect the Pi over the internet. That’s all. This ends with how to set up VNC on the Raspberry Pi.
Thank you for reading this article. Please visit the below links to read more such interesting articles. Peace leave your comments here below and let us know your feedback. This helps us to bring more such articles.
You may also like these articles:
Arun KL
Arun KL is a cybersecurity professional with 15+ years of experience in IT infrastructure, cloud security, vulnerability management, Penetration Testing, security operations, and incident response. He is adept at designing and implementing robust security solutions to safeguard systems and data. Arun holds multiple industry certifications including CCNA, CCNA Security, RHCE, CEH, and AWS Security.
