Table of Contents
Step By Step Procedure To Install Windows 11 On VMWare
We have created this post to show the complete procedure to install Windows 11 on VMWare Workstation as a Virtual Machine. Let’s get started.
Please click here if you want to download the test ISO image of Windows 11.
Procedure to Install Windows 11 on VMWare
Step 1: Open the new Virtual Machine Wizard
1. Fire up VMWare Workstation2. Go to File -> New Virtual Machine or Ctrl + N
3. Select Custom Wizard and click Next
Step 2: Choose VM Hardware Compatibility
1. Choose the compatible hardware from the drop-down2. Click Next
Step 3: Select to install operating system later option
1. Select to install operating system later option2. Click Next
Step 4: Select the guest operating system
1. select Windows 10 since we don’t have the windows 11 option included yet.2. Click Next
Step 5: Virtual Machine Name & Location
1. Give the Virtual Machine Name & Location2. Click Next
Step 6: Select Firmware Type
1. You can select either BIOS or UEFI. Note: Only new boards supports UEFI.2. Click Next
Step 7: Allocate the number of processors you need
1. Allocate how many processors you need. This depends on your host machine’s hardware.2. Click Next
Step 8: Set the Memory for the virtual machine
1. This depends on your host machine’s hardware. You should leave the memory to run the host machine without hazels.2. Click Next
Step 9: Select Network Connection settings for the VM
1. Four option are available to select. Please read and select your desired network setting.2. Click Next
Step 10: Choose the approriate storage IO controller
1. Choose the approriate storage IO controller2. Click Next
Step 11: Select the disk type for the VM
1. Select the available disk type on your host machine.2. Click Next
Step 12: Select the virtual disk for the VM
1. Select the virtual disk for the VM if not create a new disk2. Click Next
Step 13: Assign the disk size for the VM
You can select a single or split virtual disk option. Selecting a single disk will increase the performance. But, if you want to move the disk to a different location you can select the split virtual disk.Allocate the disk size and click next.
Step 14: Give the path where you want to keep the VM disk
1. Give the location where you want to save the disk.2. Click Next.
Step 15: Create the VM
1. VM settings are ready to create the VM.2. Click Finish
Step 16: Load the ISO image to boot the VM
1. Select use ISO image file2. Browse the ISO image3. Click Ok
Step 17: All set to power on the VM
Step 18: First boot screen of Windows 11
Step 19: Windows 11 installation wizard
Installation wizard will appear in a couple of seconds after the boot1. Select the language time and keyboard settings2. Click Next
Click on Install Now
Step 20: Enter the product key
Click on I don’t have the product key if you want to register later the installation
Step 21: Select the Windows 11 version
1. Select the version you want to install2. Click Next
Step 22: Accept License Agreement
Step 23: Select installation method
Select custom installation if you are doing a fresh installation. Or, select upgrade if you are upgrading your Windows 10 to Windows 11.
Step 24: Select the installation disk for installation
Select the disk and click on Next to install Windows 11. If you want to create additional logical partitions then select the disk and click on new assign the partition size. You can create multiple partitions within available storage.
Step 25: Installing Windows 11
The installation will start immediately after you click Next.
Step 26: Windows getting ready after the installation complets
Step 27: First screen to Windows setup wizard
Select your country of origin in the first Windows setup wizard
Step 28: Keyboard settings in the setup wizard
Step 29: Connect to the network in setup wizard
Step 30: Create user name in the setup wizard
Step 31: Choose the privacy settings you want
Step 32: Windows is setting up for the first time
This process may take few minutes, don’t turn off the machine until it completes the process.
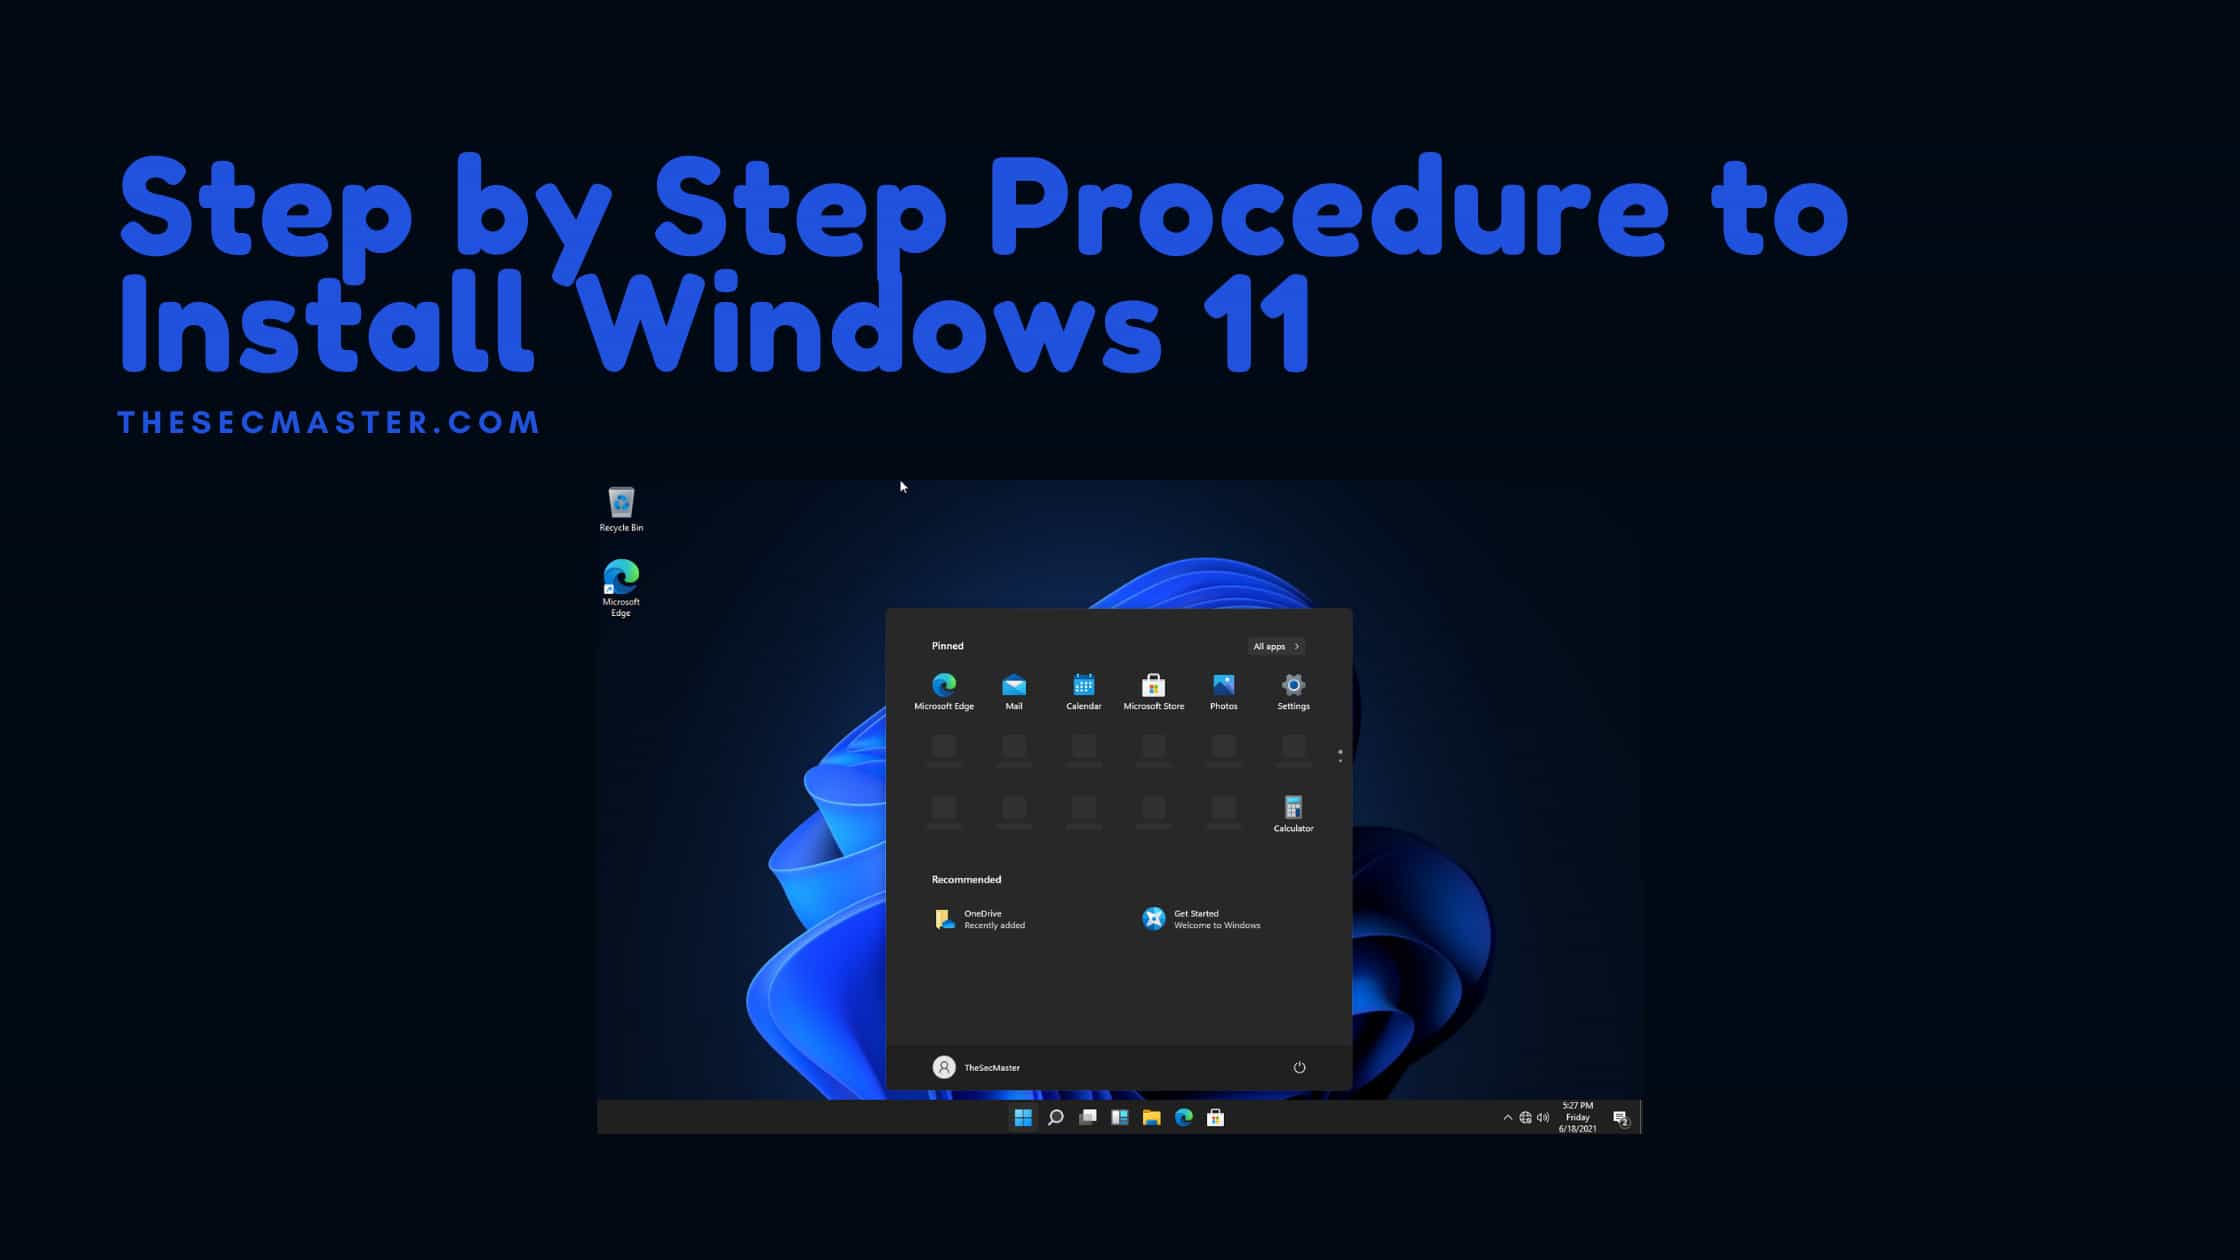
Step 33: First look of Windows 11
This completes the installation of Windows 11 on the VMWare.
Thanks for reading the post. Please share this post with those who wants to know the procedure to Install Windows 11 on VMWare
You may also like these articles:
Arun KL
Arun KL is a cybersecurity professional with 15+ years of experience in IT infrastructure, cloud security, vulnerability management, Penetration Testing, security operations, and incident response. He is adept at designing and implementing robust security solutions to safeguard systems and data. Arun holds multiple industry certifications including CCNA, CCNA Security, RHCE, CEH, and AWS Security.
