Table of Contents
How to Forward Microsoft AD Logs to Splunk?
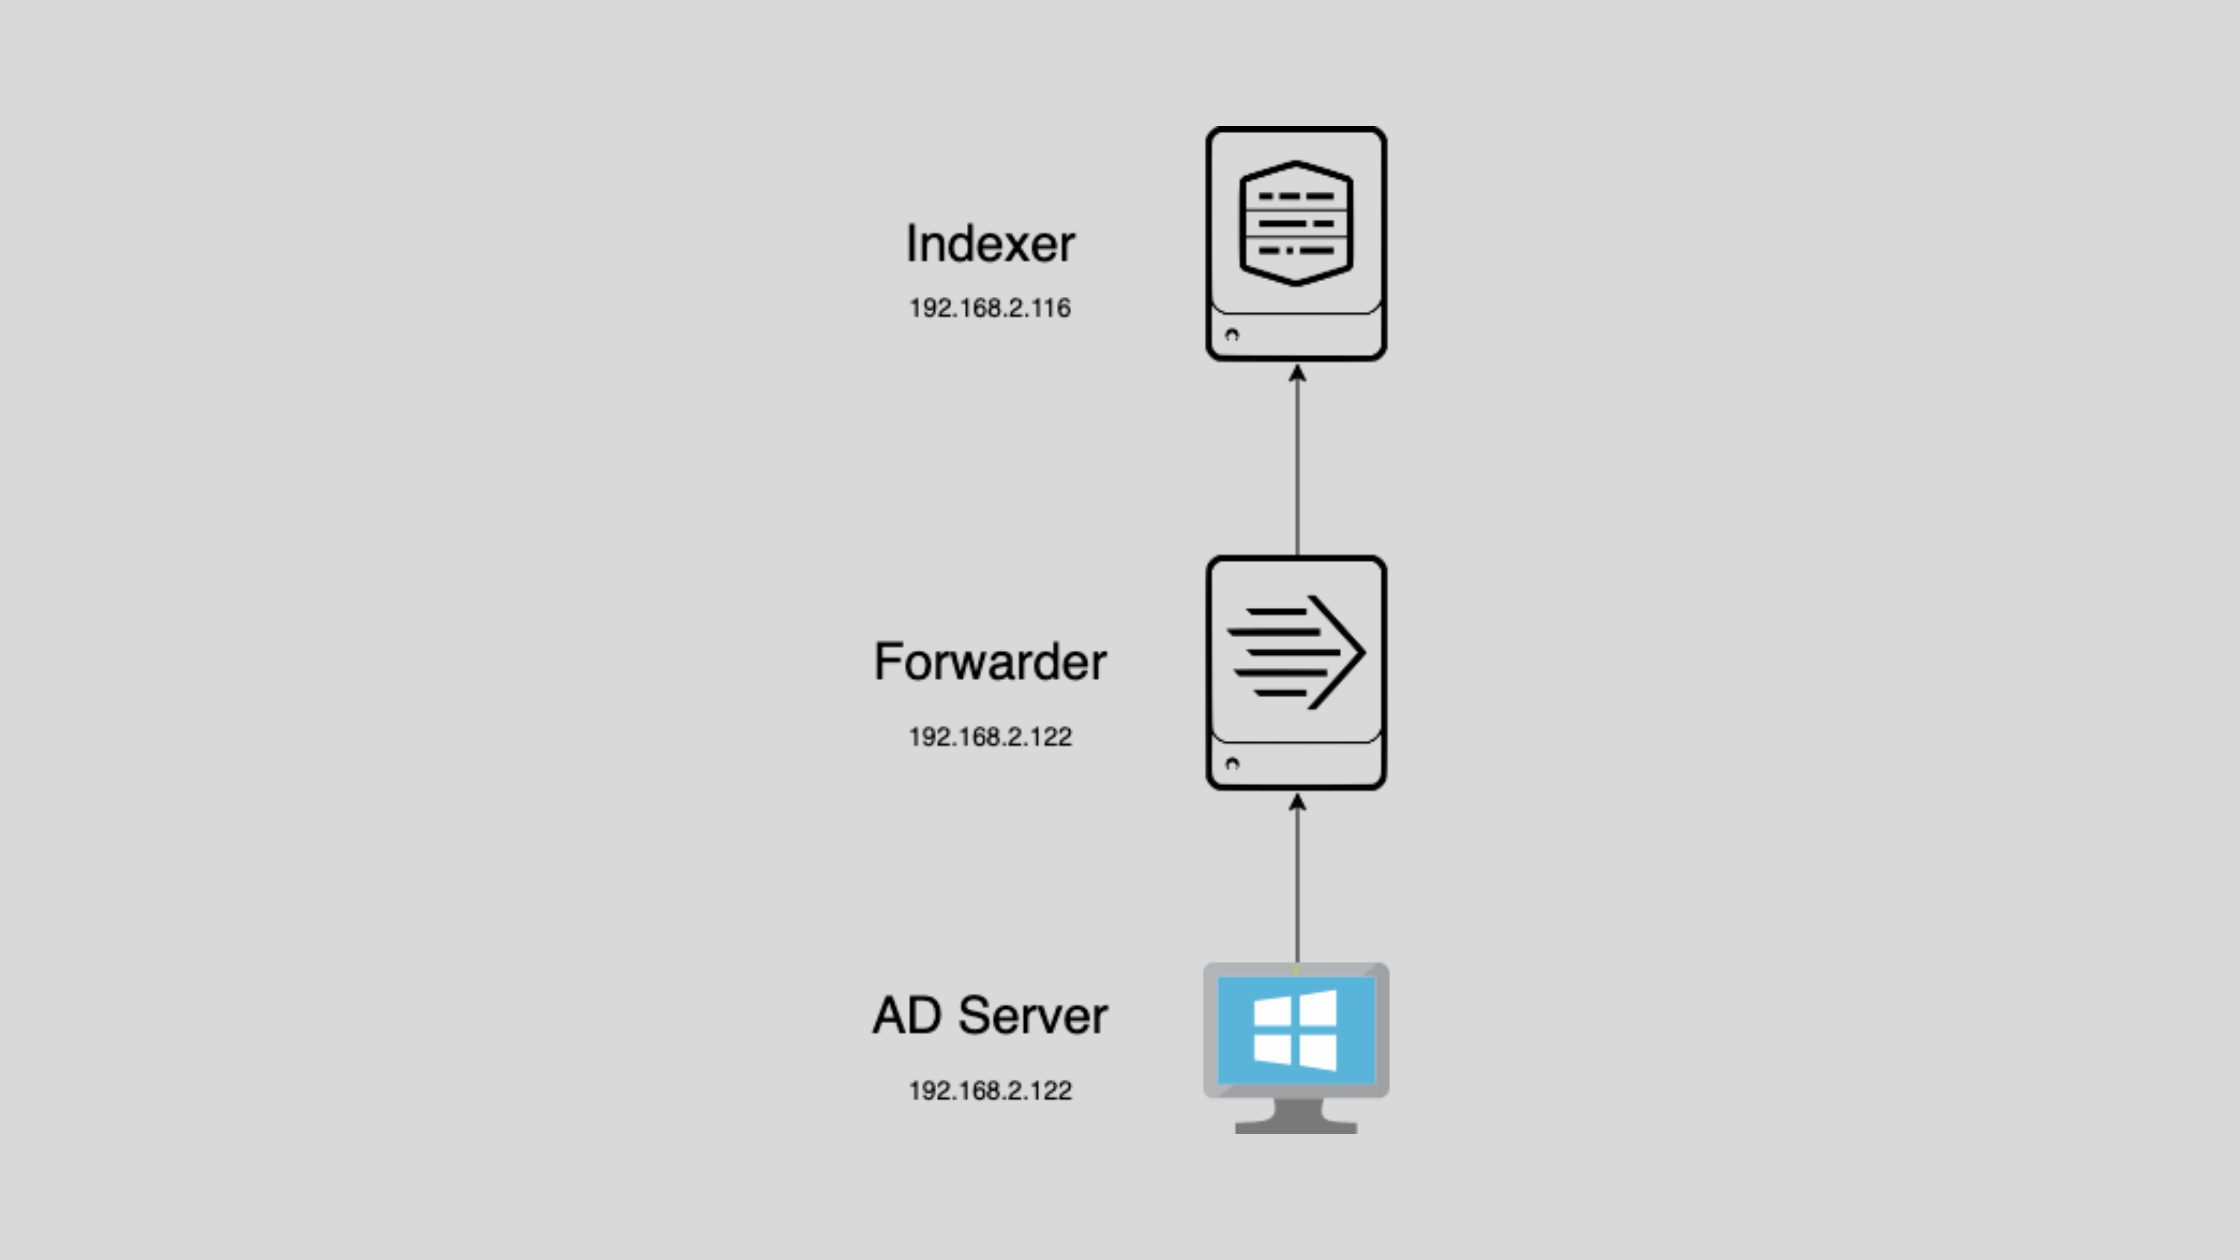
In this blog post, you will learn how to forward Microsoft Active Directory (AD) events to Splunk for centralized monitoring and analysis. By capturing AD events in Splunk, you can gain valuable insights into user activities, security events, and overall AD health. We will cover the steps to configure both the Splunk indexer and the Windows machine hosting Active Directory. By the end of this post, you will have a solid understanding of how to set up AD event forwarding to Splunk.
Configuring a Receiver on the Splunk Indexer
To set up your Splunk indexer to receive Active Directory (AD) events, please follow these steps:
Access Splunk Web Interface: Start by logging into your Splunk web interface.
Navigate to Receiver Settings: Go to "Settings" > "Forwarding and receiving" > "Configure receiving".
Create a New Receiver: Click on "New" to initiate a new receiver setup.
Name the Receiver: Assign a unique identifier to your receiver, such as "AD_Events_Receiver".
Select the Protocol: Typically, the "TCP" protocol is used for receiving events. Ensure this is selected unless another protocol is required.
Set the Listening Port: Determine the port number that will be used to listen for incoming events. For example, port 9997 is commonly used. If this port is not available, select another free port.
Save the Configuration: Once all settings are configured, click "Save" to finalize the receiver setup.
Your Splunk indexer should now be ready to receive AD events from the designated Windows machine hosting Active Directory.
By implementing these settings, your Splunk environment will be equipped to effectively capture and analyze AD events, providing comprehensive insights into user activities and security events within your network.
Configuring the Windows Machine to Forward Microsoft AD Logs to Splunk
To enable your Windows machine hosting Active Directory to send AD events to Splunk, follow these instructions:
1. Install Splunk Universal Forwarder: Begin by installing the Splunk Universal Forwarder on the Windows machine.
2. Modify the Configuration File: Navigate to the configuration file located at C:\Program Files\SplunkUniversalForwarder\etc\system\local\inputs.conf.
3. Configure Event Monitoring: Add the following configuration stanza to inputs.conf:
[admon://default]
disabled = 0
monitorSubtree = 1
index = ad_events
This configuration enables the monitoring of the Windows Security event log and specifies that the events should be forwarded to the ad_events index in Splunk.
4. Save Changes: After updating the configuration file, save your changes.
5. Restart the Forwarder: Restart the Splunk Universal Forwarder service to apply the new settings.
6. Verify Index Availability: Log into the Splunk web interface, go to "Settings" > "Indexes" and check if the ad_events index is present. If it's not available, create it.
Once these steps are completed, your Windows machine will be configured to forward AD events to Splunk for storage in the ad_events index. This setup allows for comprehensive search and analysis capabilities within Splunk, facilitating the detection of anomalies and the investigation of security incidents related to Active Directory.
Your Windows machine is now configured to forward AD events to Splunk. The events will be stored in the ad_events index for searching and analysis.
Congratulations! You have successfully set up forwarding of Microsoft AD events to Splunk. By centralizing AD event data in Splunk, you can gain valuable insights into user activities, security events, and overall AD health. You can now leverage Splunk's powerful search and reporting capabilities to analyze AD events, detect anomalies, and investigate security incidents.
That's all for now, we will cover more informative topic about the Splunk in the up coming articles. Please keep visiting thesecmaster.com for more such technical information. Visit our social media page on Facebook, Instagram, LinkedIn, Twitter, Telegram, Tumblr, & Medium and subscribe to receive information like this.
You may also like these articles:
Arun KL
Arun KL is a cybersecurity professional with 15+ years of experience in IT infrastructure, cloud security, vulnerability management, Penetration Testing, security operations, and incident response. He is adept at designing and implementing robust security solutions to safeguard systems and data. Arun holds multiple industry certifications including CCNA, CCNA Security, RHCE, CEH, and AWS Security.
